Custom Carving a Cello Tailpiece
By John Orth
This tailpiece was carved as a display piece for my shop. The tailpiece itself was factory made, probably fairly old, and was taken off of an old cello that had come in for restoration. This particular one is a beautiful piece of ebony and that is why I chose it. When doing work like this it helps to have very straight grain and uniformity of color.
The process starts with the drawing of the design. In this case I wanted Victorian scroll work to really highlight the shape, but not so much carving as to be awkward looking on the instrument once installed.
 Mechanical pencils work well for this. The small, detailed 0.5 tip make for easy carving later on.
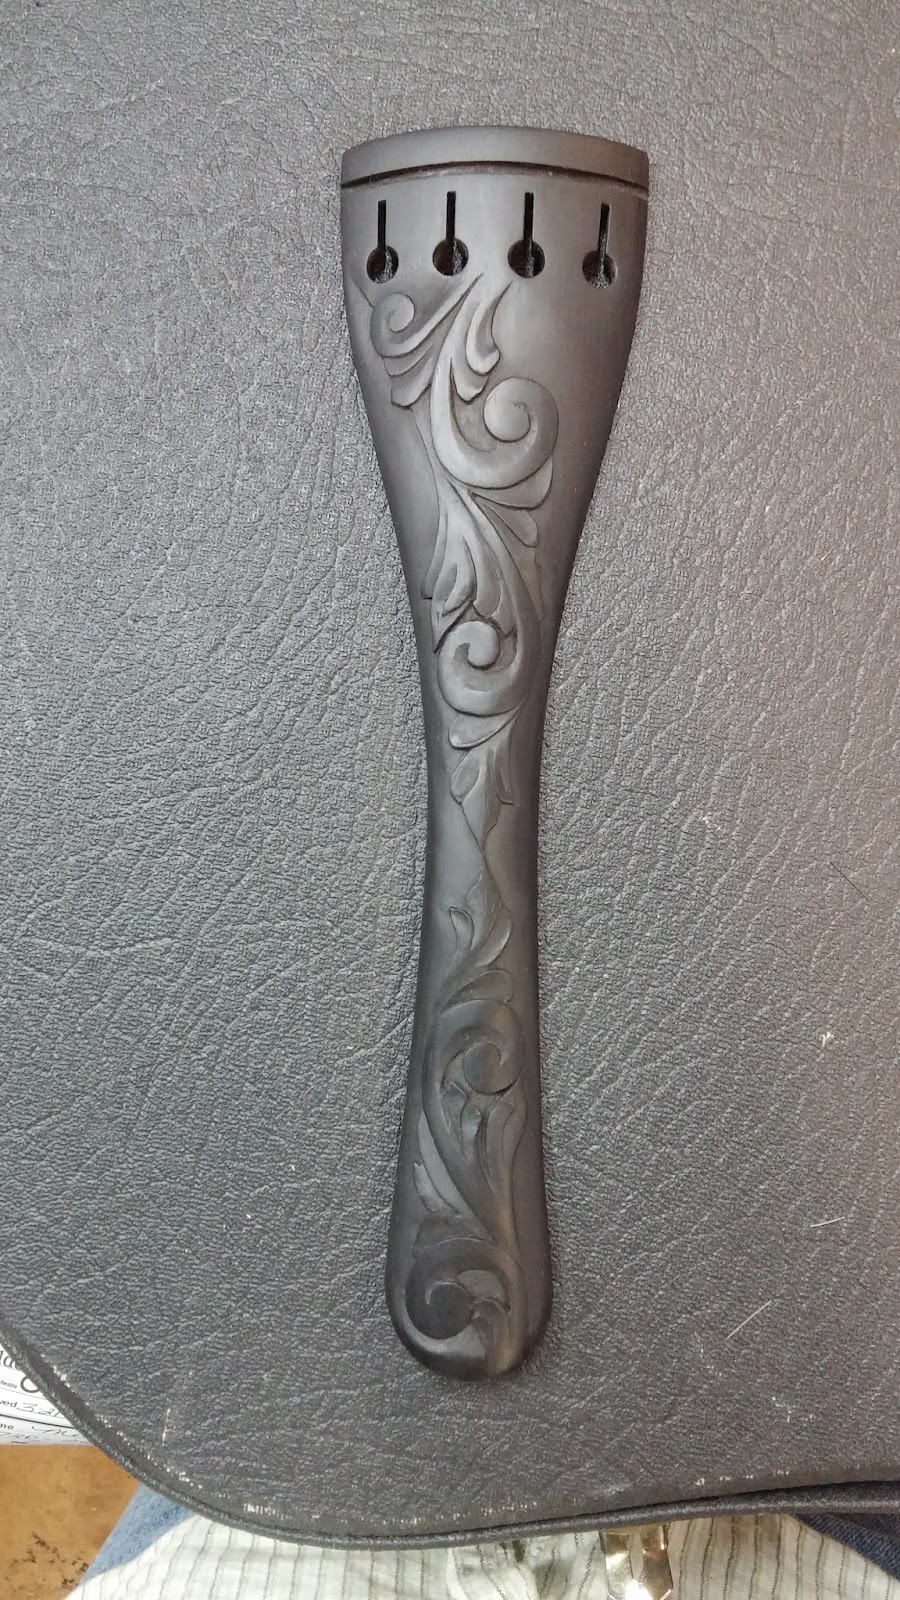
The initial carving begins with outlining using either a knife or skew chisel. Some might prefer to use a veining chisel or something similar, but i am very comfortable using a marking knife or even my violin bridge knife for the defining edges.
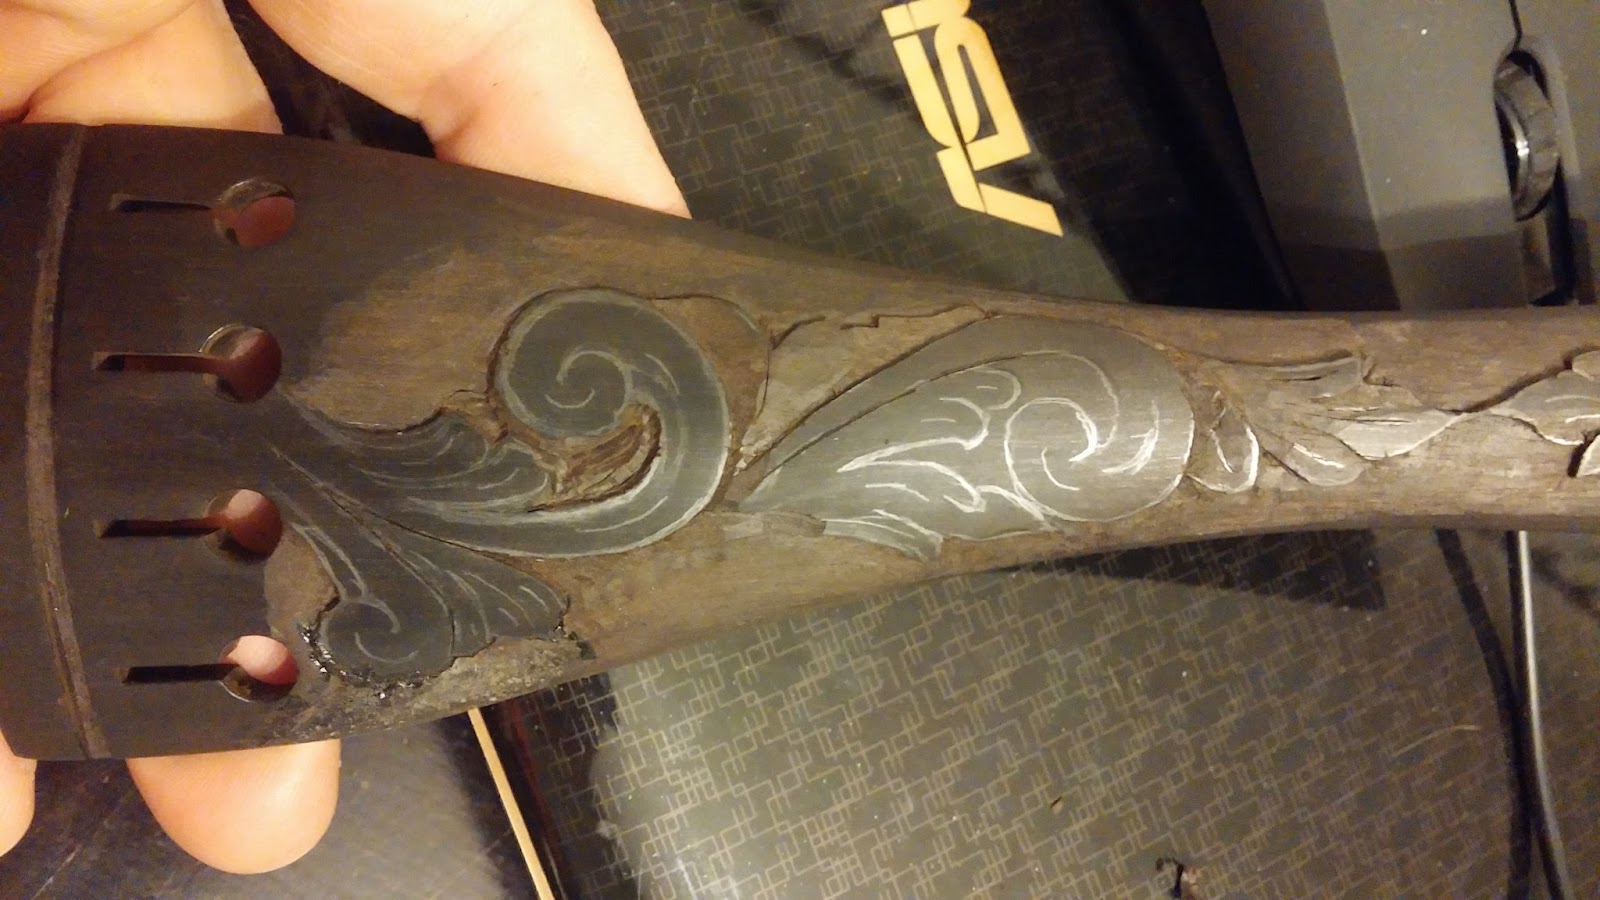
The relief will be shallow in the finished carving. No point in the carving will be deeper or taller than one millimeter.
The photos both show the initial outlining and some minor reference depth cutting.
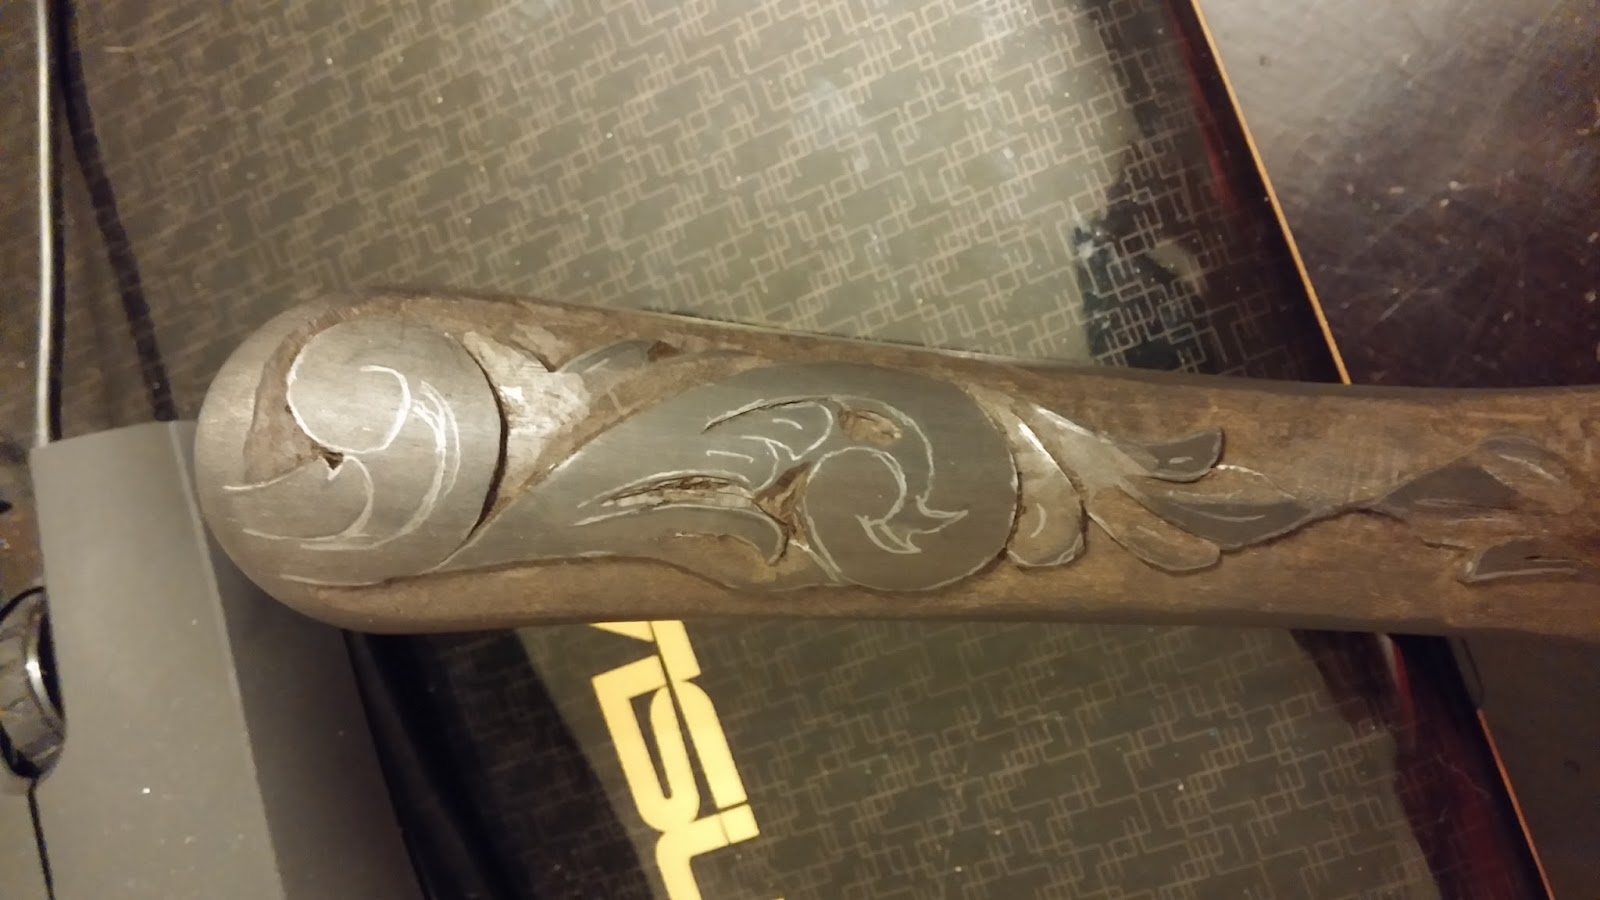
More of the background can be removed with a foredom or dremel style tool. Rotary tools are really helpful for the quick removal of waste material. Be very careful with rotary tools around the detail, one slip and you’ll find yourself doing repair work. You can see an example of that in the uppermost leaf of the scroll almost where it touches the string hole. With ebony, the simplest solution is a combination of superglue and ebony dust. On larger repairs it is better to pare the area flat and replace it with a new piece of solid wood.
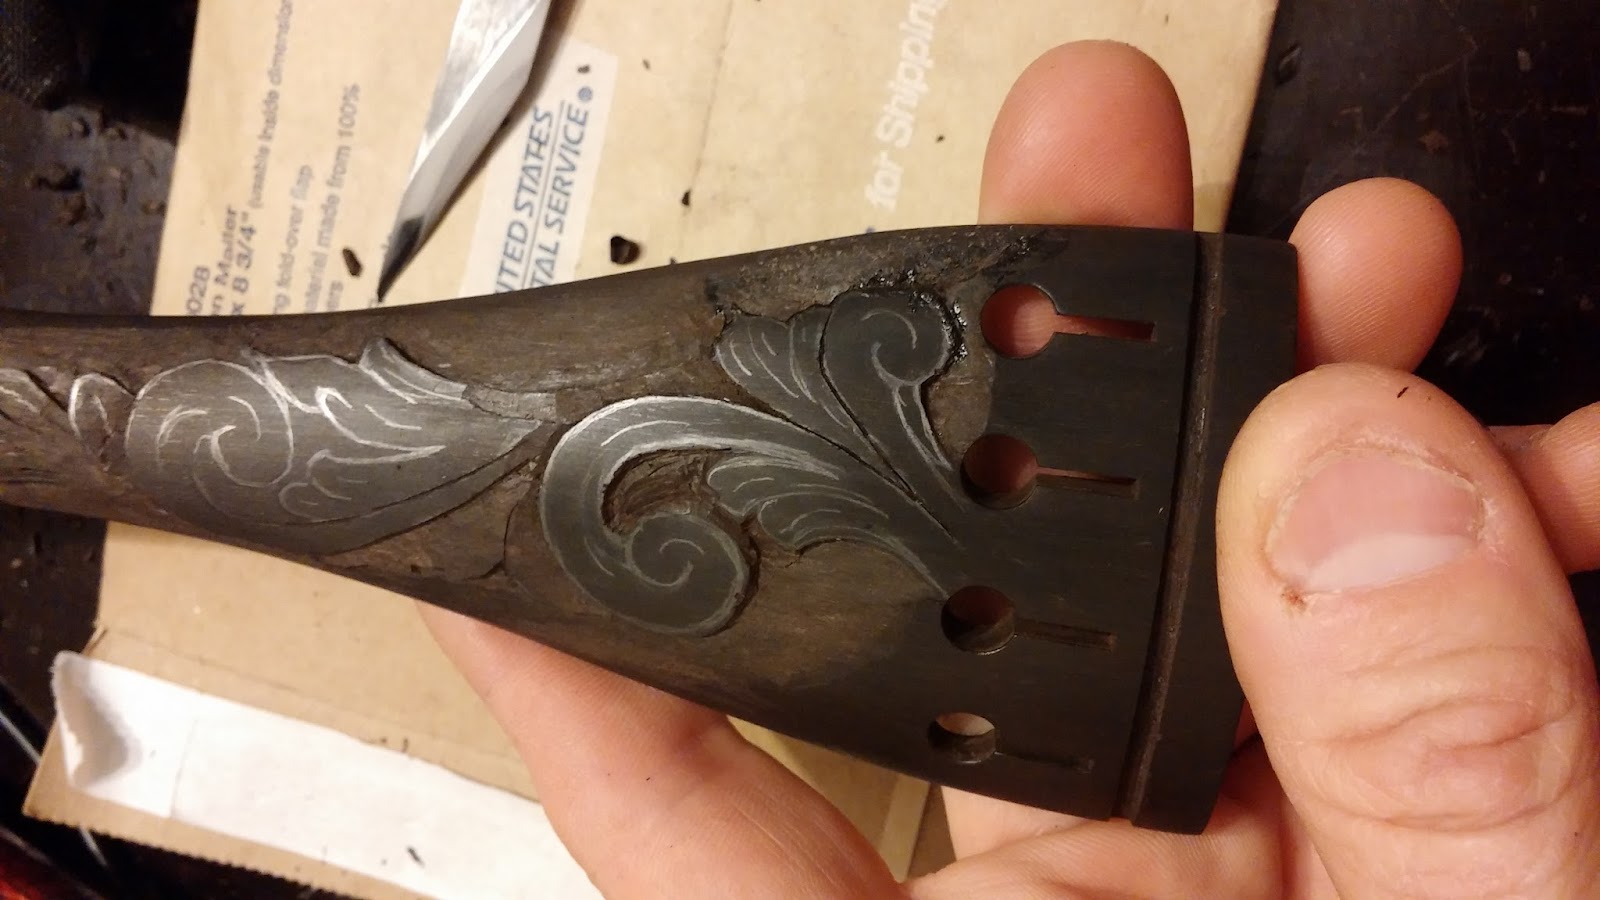
All of the initial lines have been cut and the shaping has begun. I work mostly with a gouge and a ¼” paring chisel. As you get deeper into the detail smaller tools like dental scrapers work better.

Here you can see where some of the detail is beginning to show and most of the bulk removal has been finished. It is relatively easy to make sanding blocks and scrapers from bits of metal and cut scraps of wood with sandpaper glued to them. The amount of detail is up to you and really depends on the overall look you are going for.

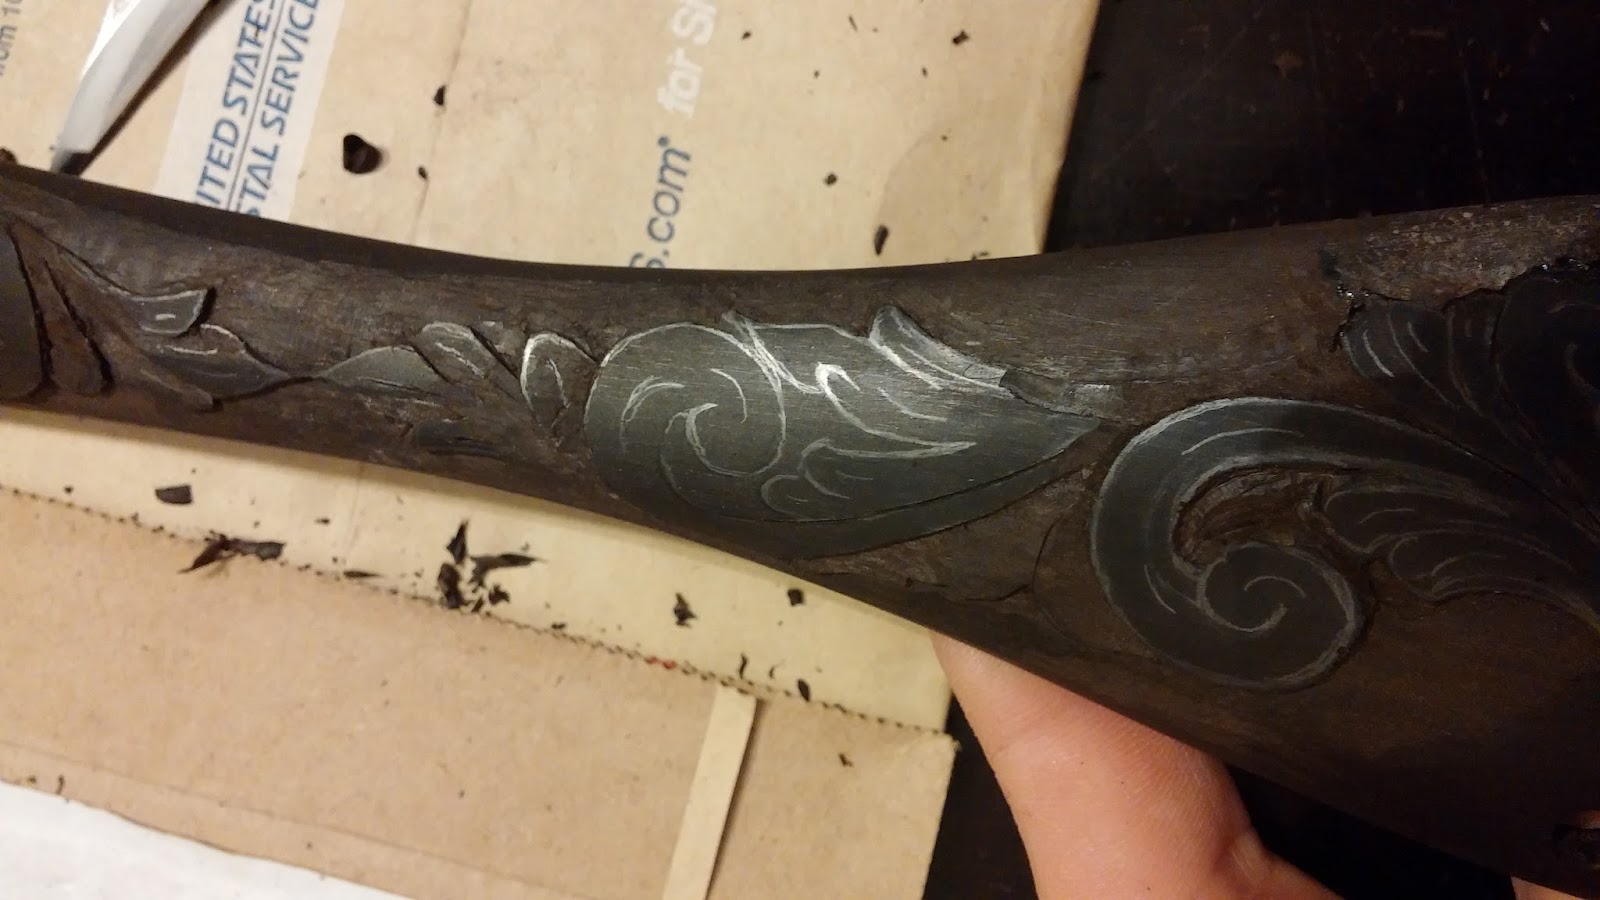
A good cup of coffee will get you through the long hours of carving… Here you can see the details, the few I want, drawn back in with a pencil. I find it helpful to continually redraw the image, both to follow my original design, but also to make changes where necessary. Often, the design will change because as you cut into the piece the depth changes the overall look and perspective changes with it. So do not be afraid to let the piece flow… as long as you are still in control.

Getting closer to the final shape before polishing begins.
In the next photo the shapes I was looking for is finished and the sanding and polishing are underway. This part requires as much patience as you are willing to put in to it. Take your time. Projects like this can take weeks of part time work, so there is no rush.

Here you can see the upper leaf is finished while the lower still requires some finishing. Keep in mind that these parts are only raised less than 1mm from the surrounding surface.
And the finished carving.
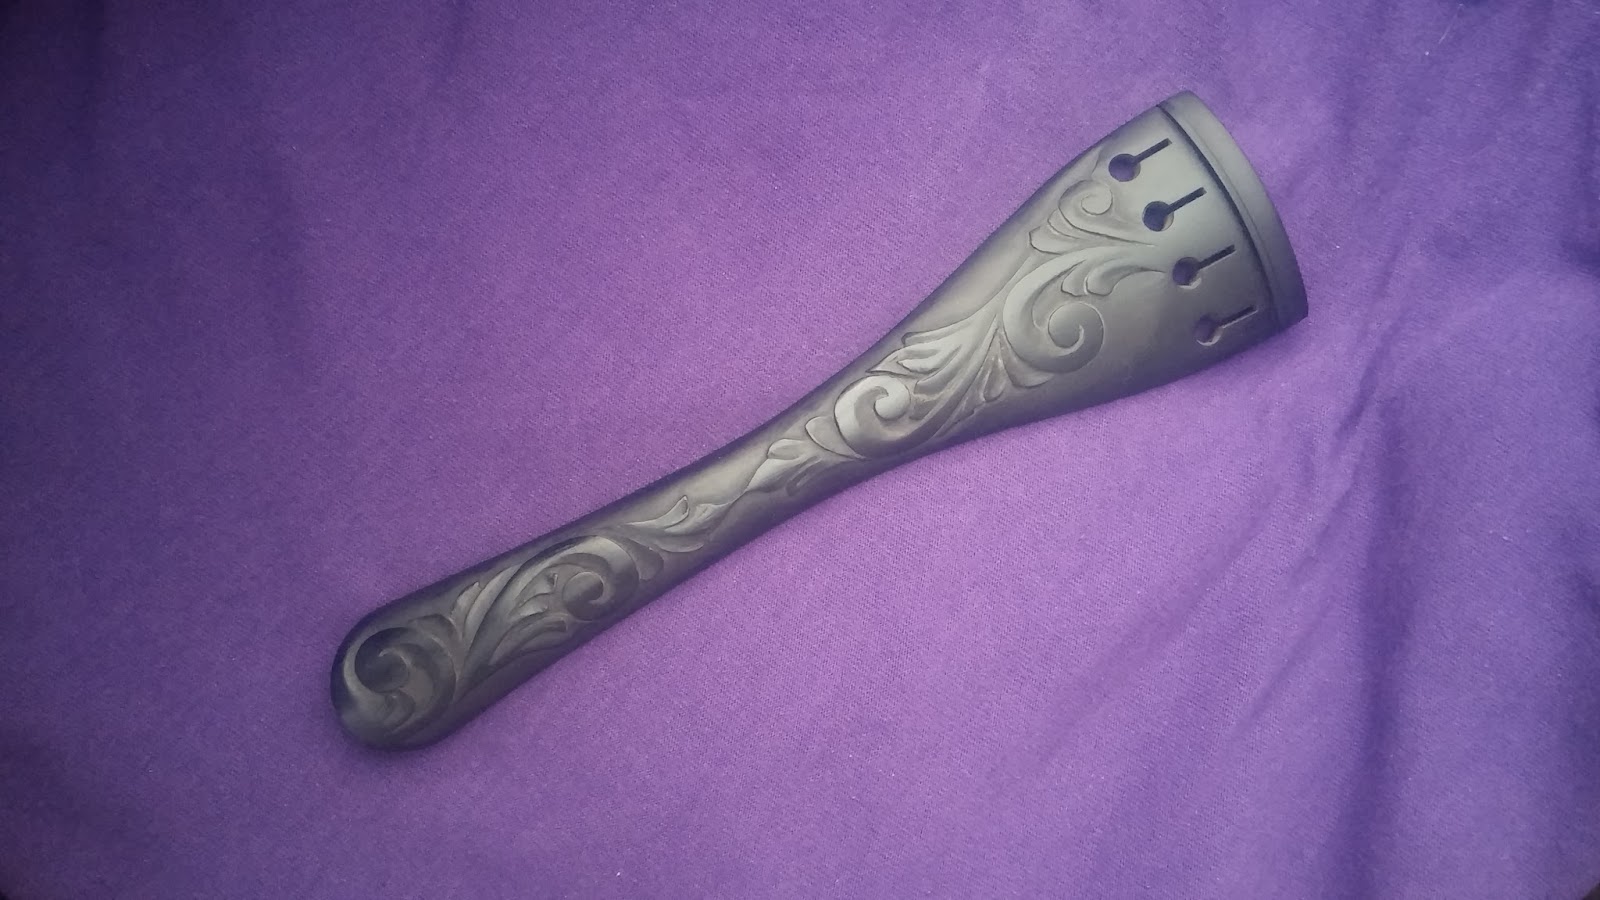
After the carving is complete to your liking any number of finishes would work. For this piece I am using a very simple French polish, a combination of shellac, rosin, linseed oil and rottenstone. The new string saddle was cut from a scrap of ebony, an old fingerboard.
Thanks for looking. And if this post inspires you in any way to carve a piece of your own please share the images with me. Thank you, John
No comments:
Post a Comment