By John Orth
Replacing a rib completely is something you should not go into lightly. A luthier must also as himself, “is what I’m doing permanent? Or better yet, “are the changes I’m about to make reversible? In this case no. This is extremely important when dealing with any valuable instrument, and why I must take into consideration the particular instrument first. In this particular post we will be looking at the rib replacement on an intermediate grade student violin, so there is no harm being done to the value, and if the repair is done correctly with regards to proper violin repair techniques you would even little impact the value of a higher grade violin. But please, this technique is not one of the simpler ones I’ll be talking about. So unless you have the necessary hand skills, please refer to this as reference only.
The violin came to me with a large hole in the rib after being dropped. Completely and perfectly punched through. none of the original wood remained. In this particular case the rib damage was exactly in the center of the rib. I'll post an addition blog about a similar cello repair so you can see the similarities and differences. The linings were not impacted and neither were the top and back plates. Removal of the damaged rib in this case was simple, but slow going. Using a plate removal knife, or even a bridge knife, score the seams along the top and and back plates. Be extremely careful at the corner where the damaged rib meets the center bout, that's an extremely difficult repair to do properly. Try not to loosen the plates from the rib. we want to retain every bit of stability in the violin's structure as we can during the procedure. Next, with a freshly sharpened chisel begin to remove the rib from the surface of the rib down to the linings. Take your time. slowly slice away at the rib until all material is removed without having touched the linings in any way. if done correctly the linings will still be completely intact and connected to the plates. Reconnecting the linings if you loosen them is not a fun thing to do. Trying to get them lined up properly where they were originally is difficult at best.

The linings still perfectly intact and scraped clean of most of the remaining glue. The linings on factory instruments are rarely perfect, don't expect them to be. They are usually shoddy pieces of scrap wood haphazardly glued in. These were not bad, the lower was better, and the corner block was solid and well cut.
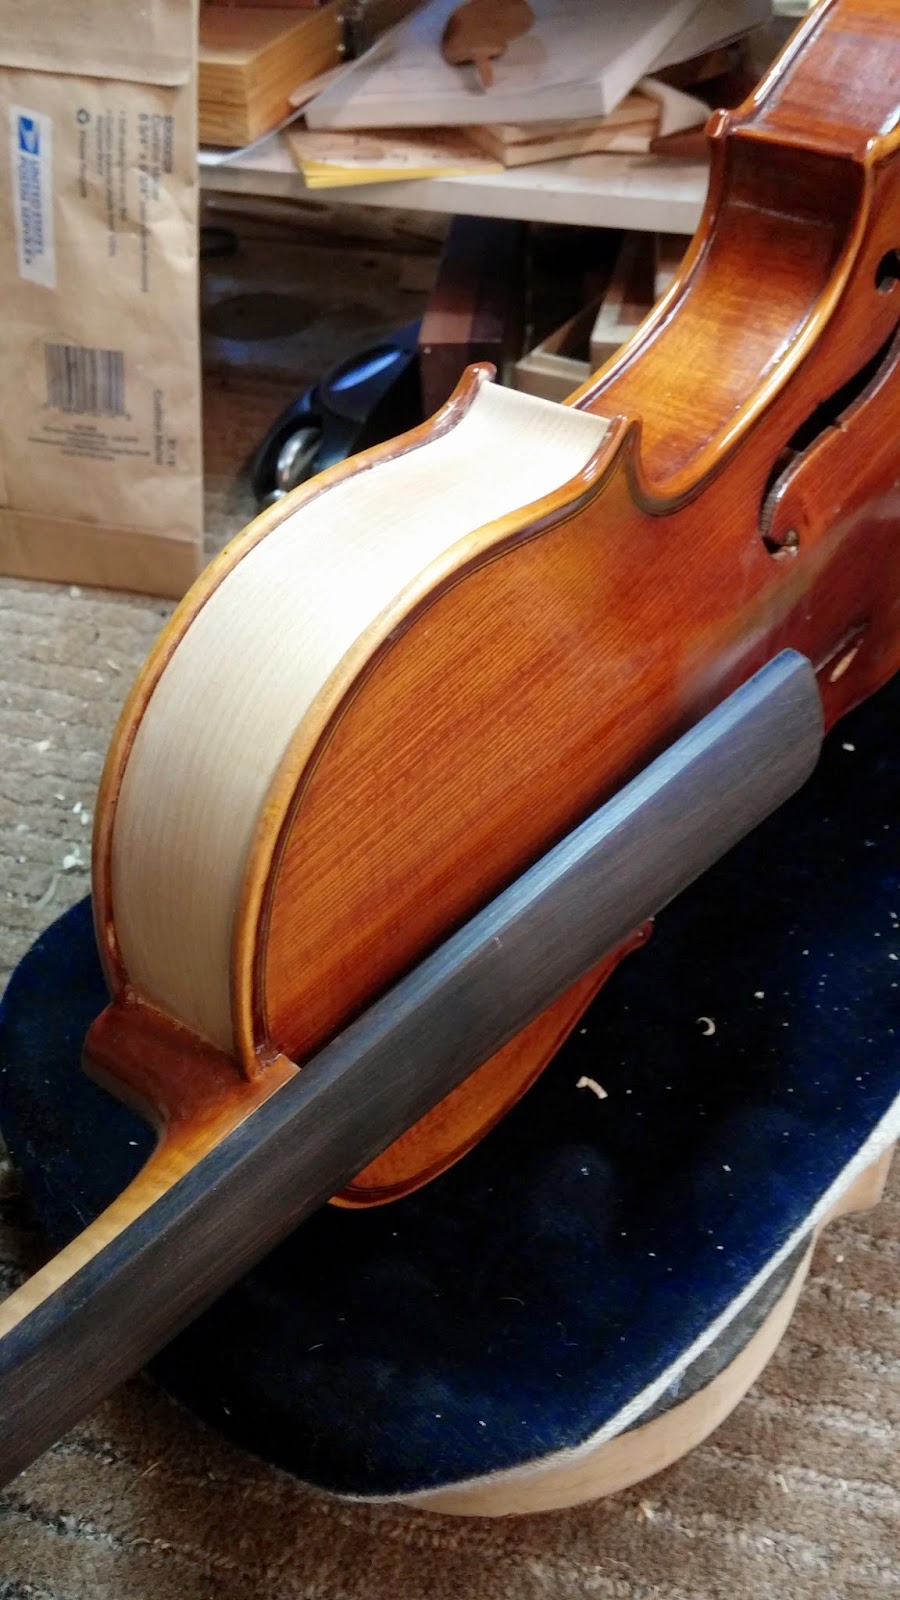
The new rib was sliced from a quartersawn block of maple and thicknessed to 1.2mm after sanding, roughly matching what was there (I say roughly because factory made violins are not perfect and rib thicknesses often vary quite a bit, so after measuring I chose a happy middle ground. And the thickness of 1.2 is a nice place to be anyway on a full size violin. ) I used a bending iron to fit the rib with no pressure applied. The rib seen in this photo is simply sitting there; it is not glued in. I am stressing this point. You want the new rib to have the perfect curve. you do not want the new rib applying pressure in any direction. In other words, it should fit perfectly where the old one was. After that, gluing is a simple operation with edge clamps. Leave the extra length and cut that to fit after the glue has cured. You want the upper bout rib to overlap the center bout rib completely, as it was originally. (Knowledge of basic violin construction principles would be handy to understand it placement.)

The photo below shows the new rib cut to fit after the glue has dried.
The next steps are basic color matching, finishing and polishing. I will cover these topics in future installments.
This is the violin after the first color coat. There are a few steps missing here, but they require there own segments to explain properly. You don't always get it right on the first coat, but in this case the color match was nearly perfect. It is missing some of the bright yellow of original undercoat, and the maple I chose does not have exactly the same curly figure of the original, so I focused my energies on the color itself to hide the repair. (On a much more expensive instrument you should absolutely spend more time grain and pattern matching the wood. I'll post an example of that in my next, and related post.) After the final clear coat it was buffed and polished using a combination of pumice and oil.
The final product made its owner very happy.
In conclusion, this repair is a complicated one, but one that can be done well if care is taken at each step to ensure accuracy. This repair took four days with the total working time at near 3 hours. If you have never attempted a repair such as this expect to spend a solid 8 hours over one week to do the work cleanly and properly. Your patience will be well worth the results.
Hope you enjoyed the post. Thank you for reading, John


.jpg)